

That burnt taste hitting the back of your throat isn't just a nuisance. It's a sign you're literally burning money. Many vapers assume that a drop in performance is just an unavoidable part of the process, but the truth is different. Learning how to maintain your vape kit UK is the most effective way to protect your investment. With the 2026 vaping duty significantly increasing the cost of e-liquids, ensuring your hardware runs efficiently has become a vital financial priority for every vaper in the country.
It's frustrating when a brand new coil tastes singed after a single day or when a leaking tank leaves a sticky mess in your pocket. You want a consistent, reliable experience every time you pick up your device. We understand that maintenance should be a quick habit rather than a technical chore. This guide promises to reveal the essential routines to keep your hardware performing like new whilst saving money on replacement parts. We will walk you through simple cleaning methods, battery preservation, and leak prevention to ensure your kit delivers the best possible flavour for the long term.
Key Takeaways
- Extend your hardware's lifespan and preserve consistent flavour by preventing residue buildup on your heating elements.
- Follow a quick weekly cleaning routine to keep your tank or pod system hygienic and performing at its peak.
- Discover professional tips on how to maintain your vape kit uk to avoid common performance drops and save money on hardware.
- Master the 10-minute priming rule to ensure your OXVA pods and coils never taste burnt on the first puff.
- Protect your battery health and avoid common hardware failures with professional charging and storage habits.
Why Regular Vape Maintenance Matters for Every UK Vaper
Vape maintenance is the simple process of routine cleaning and the timely replacement of consumable parts like coils and pods. It's the difference between a device that lasts two years and one that fails in two months. Understanding how vape kits are made helps you see why this matters; every component, from the battery to the atomizer, must work in harmony to vaporise e-liquid correctly. When one part is neglected, the entire system suffers.
When you ignore basic upkeep, residue from e-liquids begins to accumulate. This "gunk" is usually a buildup of sweeteners and flavourings that have caramelised on the heating element. This layer acts as an insulator, forcing your battery to work harder whilst delivering a subpar experience. Learning how to maintain your vape kit UK ensures you keep these components clear, functional, and safe. Proper care also keeps your device TPD compliant, ensuring that the leak-resistant designs and safety seals work exactly as intended.
The Impact on Flavour and Performance
Old e-liquid residue doesn't just sit there; it cooks every time you press the firing button. This creates a "burnt" or "muted" taste that ruins even the best premium juices. Airflow hygiene is equally critical. Dust and lint from your pocket can easily block the air intake, reducing vapour production and making the draw feel restricted. A clean device ensures the airflow hits the coil perfectly. This provides a more consistent nicotine hit and the crisp flavour you expect from your favourite salts.
Saving Money on Replacement Parts
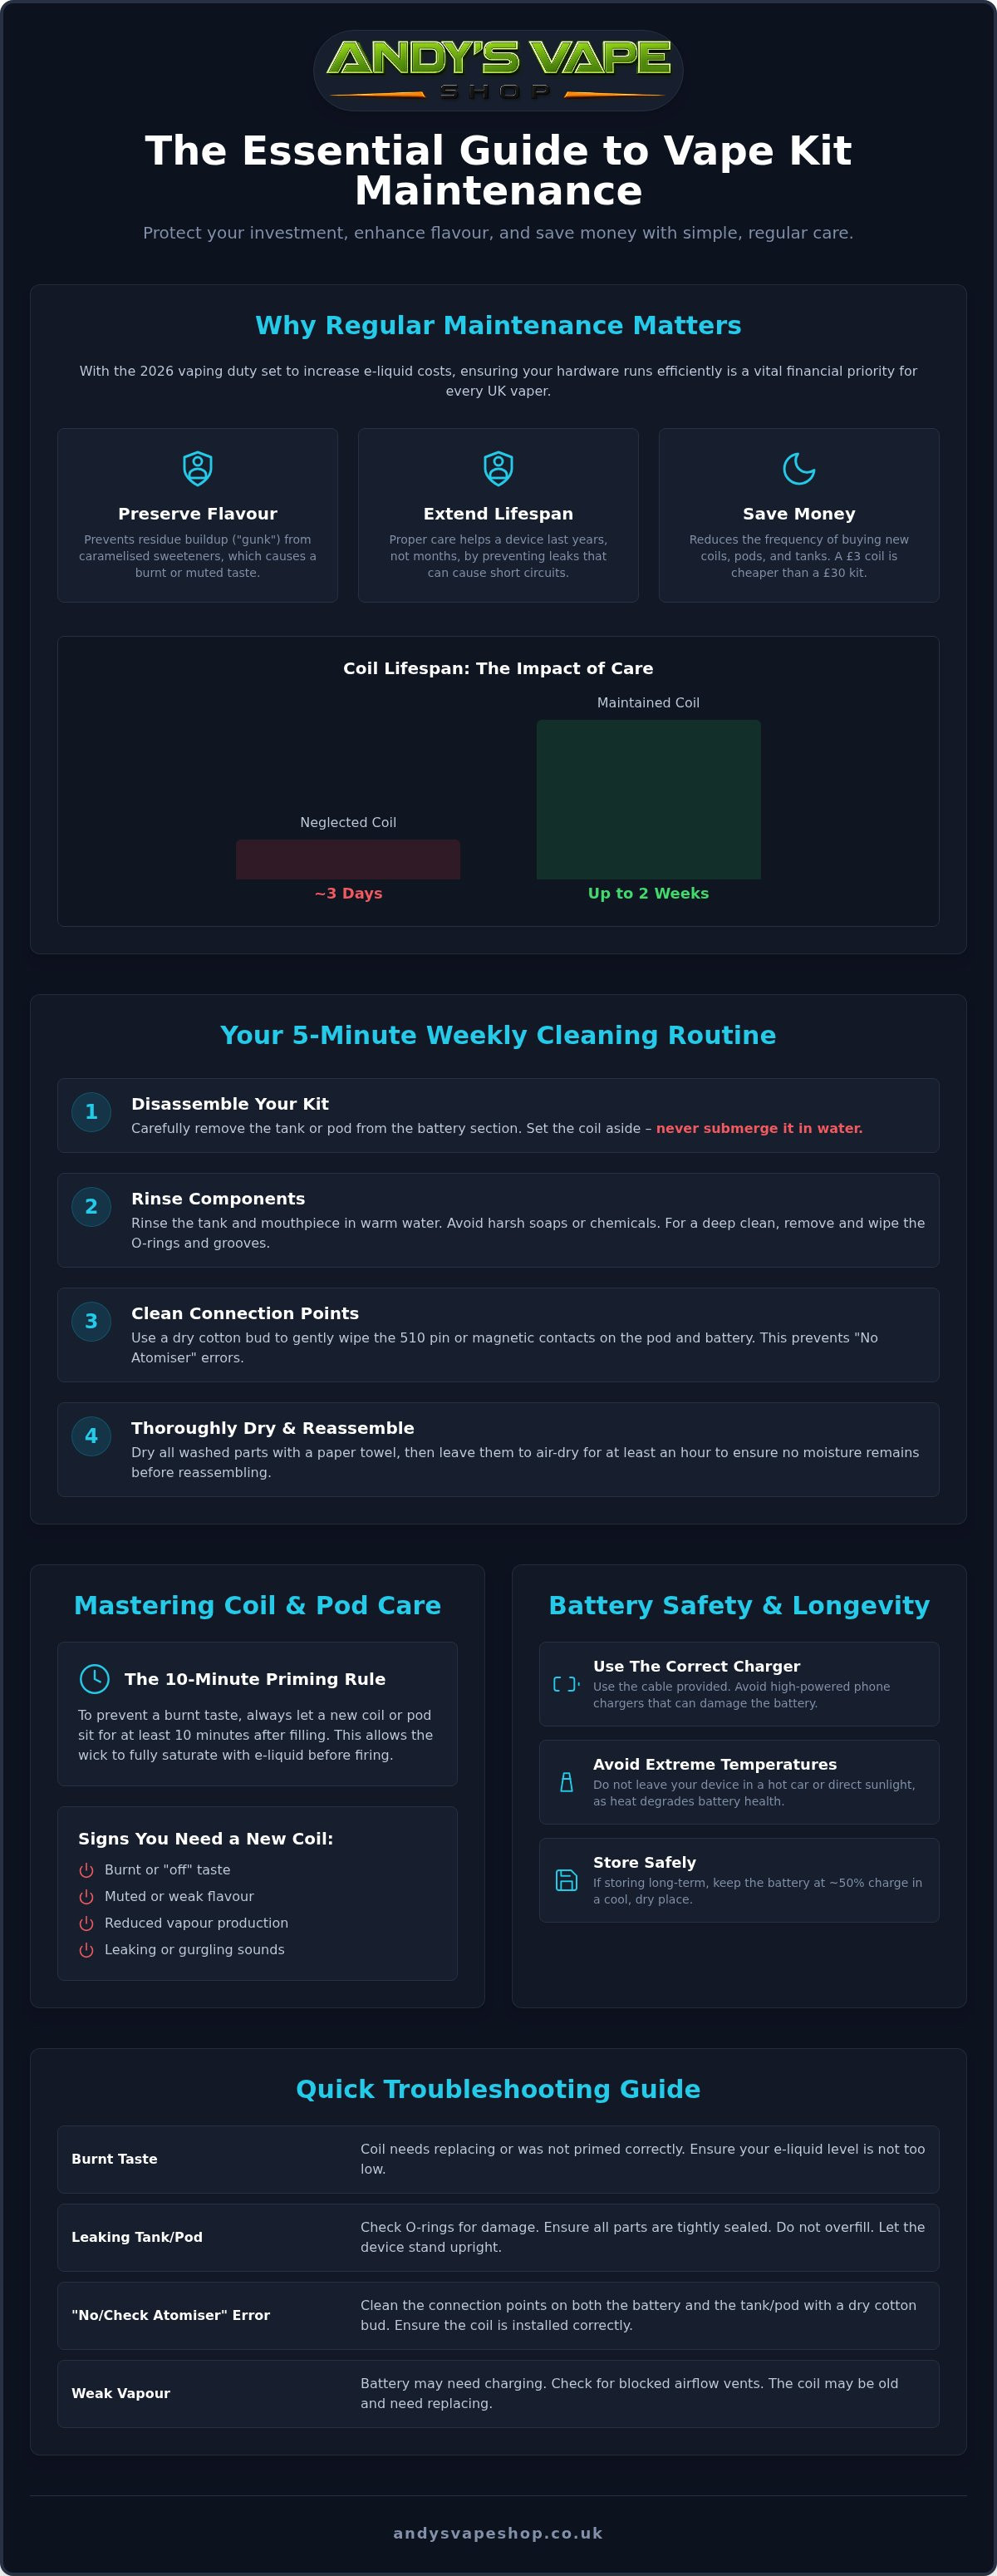
The financial argument for maintenance is undeniable. A well-maintained coil can often last two weeks, whereas a neglected one might burn out in three days. In the UK, a replacement coil typically costs around £2 or £3. Compare this to the £20 or £30 you might spend on a new starter kit if your battery is damaged by a preventable leak. Neglect is expensive.
Leaking e-liquid is a primary cause of hardware failure. If juice seeps into the firing button or the charging port, it can cause a permanent short circuit. By spending five minutes a week on basic upkeep, you reduce the frequency of buying new pods or tanks. You're not just protecting your flavour; you're protecting your wallet from unnecessary hardware replacements.
Cleaning Your Device: A Step-by-Step Weekly Routine
A clean device is a reliable device. Establishing a weekly routine is the best way to ensure your hardware continues to meet the safety and quality standards defined by UK government regulations. To start, clear a workspace and gather your tools: paper towels, a bowl of warm water, and a few cotton buds. This simple setup is all you need to prevent the most common hardware failures.
Disassemble your kit carefully. Remove the tank or pod from the battery section. If you use a tank with a removable coil, take the coil out and set it aside. Never submerge the coil itself in water; doing so ruins the wicking material instantly. Focus your attention on the parts that come into direct contact with e-liquid and your mouth. Learning how to maintain your vape kit UK starts with these basic, manual steps.
Deep Cleaning the Tank and Mouthpiece
Rinse the tank components in warm water to clear out stubborn e-liquid residue. This is essential when switching between different flavours, as old juice can linger in the seals and ruin the new taste. Every few weeks, carefully remove the rubber O-rings to clean the grooves beneath them. This prevents leaks and ensures the tank maintains a proper vacuum seal.
Never use dish soap or harsh household chemicals. These can leave behind toxic residues or degrade the plastic and rubber parts of your kit. Plain warm water is usually enough to break down the vegetable glycerin and propylene glycol. If your mouthpiece feels particularly grimy, a quick soak in warm water is the safest way to sanitise it.
Maintaining the Connection Points
The area where your pod or tank meets the battery is a magnet for condensation and dust. Look for the 510 pin on traditional mods or the gold magnets on pod systems. Use a dry cotton bud to gently wipe these contacts every few days. Even a microscopic film of e-liquid can interfere with the electrical current, leading to inconsistent firing.
If your device screen displays a "No Atomiser" or "Check Atomiser" error, a dirty connection is the most likely culprit. Keeping these surfaces bone-dry prevents the battery from misfiring and protects the internal circuitry from liquid damage. Once everything is washed, dry every component thoroughly with a paper towel. Leave them to air-dry for at least an hour before reassembling. If your current components are beyond saving even after a deep clean, it might be time to browse our range of replacement coils and pods to restore your kit's performance.
Coil and Pod Care: Getting the Best Flavour from Your OXVA Kit
OXVA hardware, particularly the Xlim series, has become a staple for vapers across the country. These systems use precision mesh coils that deliver excellent flavour but require specific handling to last. Understanding how to maintain your vape kit UK involves more than just charging the battery. These pods rely on a vacuum seal and fully saturated cotton to function correctly. A burnt taste, dark e-liquid leaking back into the tank, or a significant drop in vapour production are clear signals that your coil has reached the end of its life.
The most critical habit for any vaper is the "prime your coil" rule. After filling a new pod, you must wait at least 10 minutes before taking your first puff. This is non-negotiable. This time allows the e-liquid to fully saturate the dense cotton surrounding the mesh. If you fire the device while the cotton is even slightly dry, you will instantly singe the fibres. This ruins the flavour for the entire lifespan of the pod. Your choice of e liquids UK also plays a massive role here. High-sweetener juices tend to caramelise quickly on the heating element, creating "gunk" that chokes the coil and kills the flavour prematurely.
Priming and Breaking in New Coils
To prime correctly, fill the pod and let it sit for the full 10 minutes. For devices with adjustable power, start at the lowest recommended wattage for that specific pod. Take three or four short, quick puffs without inhaling deeply. This "breaks in" the mesh structure without hitting it with maximum heat immediately. Avoid chain vaping during the first hour of use. Give the cotton enough time to re-saturate between draws to prevent dry hits and extend the pod's life.
Managing E-Liquid Levels to Prevent Burning
Don't wait until your pod is bone dry to refill it. The "minimum fill line" isn't just a suggestion; it's a requirement for hardware health. If the liquid level falls below the wicking holes, the cotton dries out and burns almost instantly. Properly managing your juice levels is a core part of how to maintain your vape kit UK, especially if you want to avoid the cost of replacing pods every few days.
Air bubbles can also cause issues in compact pod systems. If you see a bubble trapped over a wicking port, flick the pod gently to displace it. If you prefer thicker High-VG liquids, you must be even more diligent. These juices take longer to soak into the cotton and can cause the coil to run dry if you vape too quickly. Regular cleaning of the mouthpiece will also prevent condensation from dropping back onto the coil and causing "spit-back."
Battery Safety and Storage: Protecting Your Hardware Long-Term
Battery longevity is often the first thing to decline in a neglected device. Whilst modern pod kits are built to be robust, the lithium-ion cells inside are sensitive to how they are treated. Learning how to maintain your vape kit UK means treating the power source with respect to avoid a permanent drop in capacity. Every device sold in Britain must comply with strict TPD safety standards, but these internal protections cannot prevent damage caused by poor charging habits or environmental heat.
Always use the USB-C cable provided by the manufacturer. It might be tempting to use a high-speed phone charger, but these can often push too much current into a small vape battery, leading to overheating. Heat is the primary enemy of battery chemistry. Never leave your kit on a car dashboard or in direct sunlight. If the casing feels uncomfortably hot to the touch during use or charging, stop immediately and let it cool down. This simple habit protects the internal circuitry and ensures your device remains safe to use.
While vape batteries are compact, the principles of battery health are similar across many industries. For instance, specialists like UK Mobility Batteries offer detailed insights into technical specifications and replacement procedures for high-capacity batteries used in mobility equipment, highlighting how critical proper care is for longevity.
Optimal Charging Habits
Avoid the habit of charging your device overnight. Leaving a battery at 100% capacity for hours on end creates "trickle charging" stress that degrades the cell over time. For the best results, follow the 20-80% rule. Keeping your battery level within this middle range rather than fully depleting it or constantly topping it up to maximum can significantly extend its total lifespan. If you notice your device is swelling, leaking fluid, or becoming excessively hot during a normal charge, it is time to retire the unit. These are signs of internal failure that maintenance cannot fix.
Safe Storage and Transport
Accidental firing is a leading cause of burnt coils and damaged batteries. Always use the "lock" or "power off" function before placing your device in a pocket or bag. Storing your kit safely amongst other items requires caution; keep it away from metallic objects like keys, coins, or paperclips. These can scratch the finish or, in rare cases with external batteries, cause a dangerous short circuit. For vapers on the move, choosing a durable tech organiser from a retailer like ElectroGadget can provide an extra layer of protection for your device and charging cables.
Your storage environment matters for your e-liquid too. Keep your spare pods and juices in a cool, dark cupboard rather than on a windowsill. Light and heat break down the molecular structure of nicotine and flavourings, leading to a peppery taste and discoloured liquid. If your current battery is struggling to hold a charge despite following these steps, you can find a replacement OXVA kit to restore your vaping experience.
Troubleshooting Common Issues and When to Replace Your Kit
Even the most diligent vapers face occasional hiccups. Knowing how to maintain your vape kit UK includes being able to diagnose when a problem is a simple fix or a sign of terminal hardware failure. Most issues, like leaking or gurgling, are manageable with a few quick adjustments. However, knowing the limits of your device is key to a safe and satisfying experience. If your kit consistently fails to perform despite following every cleaning routine, it's time to evaluate the hardware itself.
Fixing Leaks and Gurgling
Leaking from the bottom of the pod or tank is the most common complaint. This is usually caused by a flooded coil, where too much e-liquid has entered the central chimney. To fix this, remove the pod and blow gently through the mouthpiece whilst holding a paper towel over the air intake. This clears the excess juice without wasting a full tank.
Always check your seals. Inspect the rubber O-rings for tears and look for hairline cracks in the pod plastic. Temperature also plays a significant role. If you move from the cold British outdoors into a heavily heated room, your e-liquid will thin rapidly. This change in viscosity often leads to temporary leaking. Keeping your device upright and away from radiators helps maintain the correct juice consistency.
When to Upgrade Your Hardware
There comes a point where maintenance is no longer enough. If your device displays persistent "Short Circuit" or "No Atomiser" messages even after you've cleaned the connection pins, the internal wiring may have failed. Physical damage is another clear indicator. A loose charging port or a battery housing that feels "rattly" are red flags that shouldn't be ignored. These issues can compromise the safety of the device.
You might also find that your vaping needs have outgrown your current starter kit. If you're constantly refilling a small pod or the battery doesn't last until lunch, an upgrade is a practical move rather than a luxury. Part of learning how to maintain your vape kit UK is recognising when the technology can no longer keep up with your usage patterns.
To ensure your device lasts as long as possible, always use genuine replacement vape coils UK. Counterfeit or low-quality coils often lack the precision-engineered seals found in official OXVA or Elf Bar parts. Using the correct components is the final, essential step in protecting your hardware from preventable leaks and electrical shorts.
Master Your Vape Maintenance for a Better Experience
Maintaining your hardware doesn't need to be a complex task. By adopting a simple weekly cleaning routine and respecting your battery's charging limits, you ensure your device performs at its peak for months to come. These habits directly translate to better flavour, fewer leaks, and significant cost savings on replacement parts. Understanding how to maintain your vape kit UK is the most effective way to get the maximum value from your investment.
When maintenance isn't enough, always choose high-quality components to keep your kit running safely. We stock genuine OXVA hardware and replacement parts to ensure your setup stays in top condition. With our expert support for all UK hardware and fast UK-wide shipping, you'll never have to settle for a subpar vape. Ready to refresh your setup? Browse our range of genuine replacement coils and pods at Andy’s Vape Shop today. Keep your kit clean, stay consistent with your routine, and enjoy a leak-free, flavourful experience every time.
Frequently Asked Questions
How often should I clean my vape kit?
You should perform a thorough deep clean of your tank and mouthpiece at least once a week. This prevents e-liquid residue from hardening and ruining your flavour. For daily maintenance, use a paper towel to wipe the mouthpiece and the connection points between the pod and the battery. Regular upkeep is a core part of how to maintain your vape kit UK and ensures your hardware lasts as long as possible.
Can I wash my vape coils with water to make them last longer?
No, you should never wash modern mesh or cotton coils with water. Whilst water can remove some residue, it permanently damages the wicking material and prevents it from absorbing e-liquid correctly. Once a coil is burnt or gunked up with sweetener, the only effective solution is a replacement. Attempting to wash them usually results in a muted, damp taste and potential electrical issues within your device.
Why does my new vape coil taste burnt already?
A burnt taste in a new coil usually means the cotton wicking wasn't fully saturated before you fired the device. This is often caused by skipping the 10-minute priming period. If you start vaping at a high wattage immediately, you can singe the dry cotton instantly. Always allow your new pod or coil to sit in a full tank of juice before use to ensure the mesh stays cool and saturated.
How do I stop my vape pod from leaking into the battery?
To stop leaks, ensure you aren't overfilling the pod beyond the maximum capacity. Leaving a small air pocket at the top helps maintain the vacuum seal. Additionally, check that the rubber fill bung is pressed firmly into place. Regularly wiping the gold contact pins with a dry cotton bud prevents condensation from building up. If leaking persists, inspect the pod for hairline cracks or damaged O-rings that compromise the structural integrity.
Is it safe to charge my vape with a phone fast-charger?
It is generally not recommended to use high-output phone fast-chargers for small vape batteries. These chargers can push too much current, leading to excessive heat and a shorter battery lifespan. Always use the USB-C cable supplied by the manufacturer and plug it into a standard 1A or 2A wall plug or a computer port. This ensures a steady, safe charge that won't degrade the internal lithium-ion cell prematurely.
How long should a vape coil typically last in the UK?
A well-maintained coil typically lasts between 7 and 14 days for most UK vapers. This lifespan depends heavily on the type of e-liquid you use; heavily sweetened juices or thicker High-VG liquids will wear a coil out faster. If you notice a drop in vapour production or a slight change in flavour, it is a sign that the heating element is starting to fail. Consistent maintenance is the best way to hit that 14-day mark.
What is the best way to clean a fixed-coil pod?
You cannot deep clean fixed-coil pods with water because the coil is built into the plastic housing. Instead, focus on keeping the exterior and mouthpiece clean. Use a dry cotton bud to clear any condensation from the base of the pod and a damp cloth for the mouthpiece. Since you cannot wash the internal wicking, these pods should be replaced entirely once the flavour begins to fade or tastes slightly burnt.
Why is my vape making a gurgling sound when I inhale?
Gurgling is a sign that your coil is flooded with too much e-liquid. This happens when juice is pulled into the central airflow chimney rather than being vaporised correctly. To fix this, remove the pod and blow gently through the mouthpiece into a paper towel to clear the excess liquid. You can also try increasing your wattage slightly to help vaporise the surplus juice more efficiently during your next few puffs.